
The Beginner's Guide to Perfect Buttermilk Biscuits: Step-by-Step
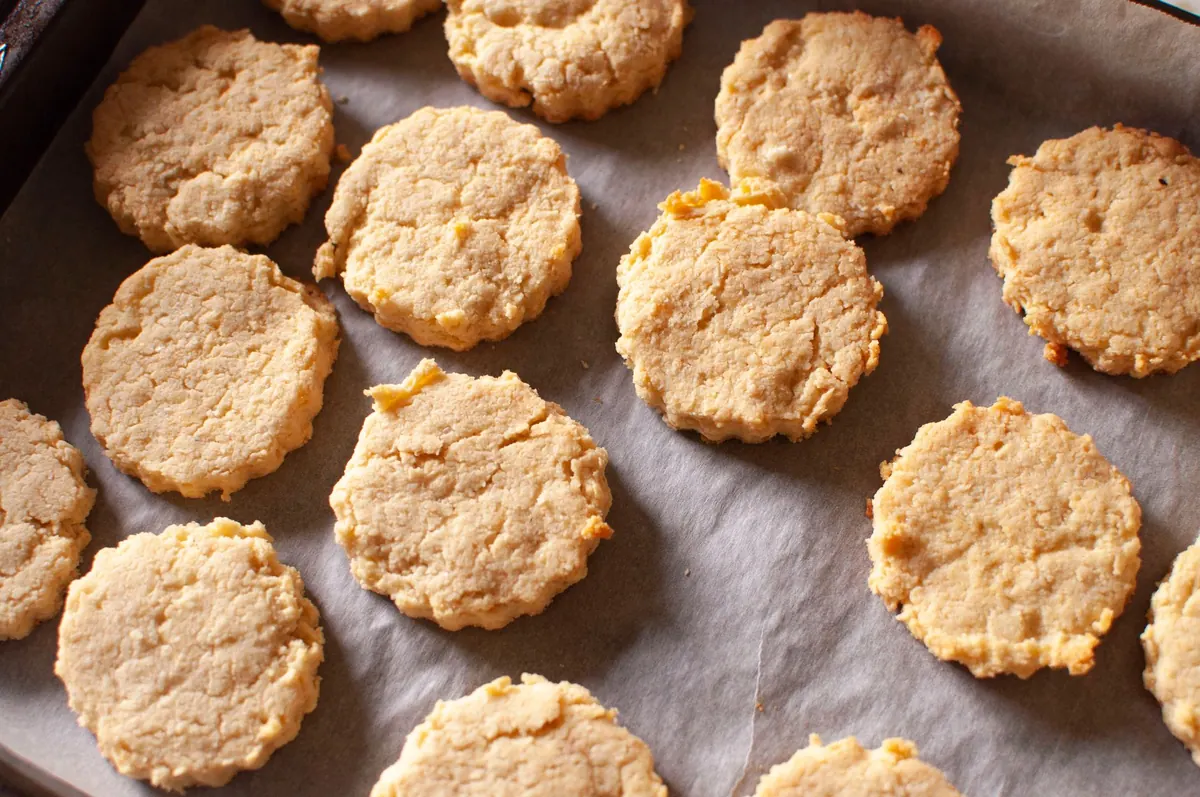
Buttermilk biscuits look like the simplest thing in the world: flour, fat, liquid, heat. Then the first batch comes out squat and pale, or tender enough to collapse into crumbs, and the simplicity starts to feel like a trick. It isn't one. Biscuits reward a handful of small habits — cold fat, a light hand, a sharp cut, a hot oven — and once those habits are in place, a good batch stops being luck.
What follows is a complete walkthrough, from pulling ingredients out of the fridge to sliding the pan onto the rack. If this is your first time, read it through once before you turn on the oven, then keep it close while you work.
Start With the Right Ingredients and Tools
A classic buttermilk biscuit uses six ingredients, most of which you probably already have. Measurements matter here more than they do in a soup, so use a scale if you own one and spoon-and-level your flour if you don't.
- 2 cups (240 g) all-purpose flour, plus extra for dusting. Bleached or unbleached both work. A lower-protein southern-style flour gives a more tender crumb.
- 1 tablespoon baking powder — check the date. Stale leavener is the most common reason biscuits don't rise.
- ½ teaspoon baking soda, which reacts with the acid in buttermilk.
- 1 teaspoon fine salt. Skip it and the biscuits taste flat no matter how good the texture is.
- 1 tablespoon sugar, optional. It doesn't make them sweet; it helps them brown.
- 6 tablespoons (85 g) cold unsalted butter. If you only have salted, cut the added salt to ½ teaspoon.
- ¾ cup (180 ml) cold buttermilk. No buttermilk? Stir 1 tablespoon lemon juice or white vinegar into ¾ cup milk and let it sit for 10 minutes.
For equipment you need a large bowl, a whisk or fork, a pastry blender (two knives or a box grater work just as well), a spatula for stirring, a 2½-inch round cutter or a straight-sided glass, and a baking sheet lined with parchment. Turn the oven to 425°F (220°C) now, before you start mixing, so it's fully heated when the dough is ready.
Cold Fat, Cold Everything
Flakiness comes from steam. When cold butter hits a hot oven, the water inside it turns to steam and pushes the dough layers apart. If the butter has softened to room temperature before baking, it melts into the flour instead, and you get something closer to a dinner roll — pleasant, but not a biscuit.
So keep the butter in the fridge until the last second, or cube it and freeze it for 15 minutes. Chill your buttermilk. If your kitchen runs warm, put the mixing bowl in the freezer for a few minutes too. This one habit does more for your biscuits than any expensive ingredient.
Mixing Without Overworking the Dough
Cut in the butter
Whisk the flour, baking powder, baking soda, salt, and sugar together in your cold bowl. Add the butter and cut it in with quick, light motions until the mixture looks like coarse crumbs, with a few pieces the size of small peas or walnut halves still visible. Those larger butter chunks are not a mistake — they're what creates the flaky pockets.
Add the liquid and stop early
Pour in the buttermilk and stir with a fork or spatula just until the flour is moistened. The dough will look ragged and slightly wet, with dry patches at the bottom of the bowl. That's correct. Overmixing develops gluten, and developed gluten turns biscuits tough.
- Turn the shaggy dough onto a lightly floured counter.
- Pat it into a rough rectangle about 1 inch thick. Don't knead it.
- Fold the rectangle in half, press it flat, and repeat two or three more times. This builds layers without toughening the dough.
- Finish with a rectangle about 1 inch thick.
If the dough sticks to your hands, dust with a little flour, but resist adding more than a tablespoon or two. Extra flour makes dry biscuits.
Shaping and Cutting for a Tall Rise
Press a 2½-inch cutter straight down through the dough and lift it without twisting. Twisting seals the edges and pins the layers together, which is why twisted biscuits lean and rise unevenly. Dip the cutter in flour between cuts so it doesn't stick.
Place the biscuits on the lined sheet. For soft-sided biscuits that climb on each other, set them touching. For crisp edges, leave about an inch between them. Gather the scraps, press them together gently, and cut one more round — after that the dough has been handled enough that the texture suffers, so any final scraps can go in the pan as free-form biscuits.
If you have five minutes, slide the whole pan into the fridge or freezer while the oven finishes heating. Cold dough going into a hot oven rises higher.
Baking Hot and Fast
Bake at 425°F (220°C) for 12 to 15 minutes, until the tops are golden brown and the sides look set and dry. Rotate the pan once halfway through if your oven runs unevenly. Biscuits move from pale to overbaked quickly, so start checking at 11 minutes.
Pull the pan out and, if you like, brush the tops with a little melted butter. Let them sit for five minutes before splitting one open. They're best within an hour of baking, though a quick rewarm in a 350°F oven brings leftovers back most of the way.
When Something Goes Wrong
Most first attempts fail in one of four ways, and the fix is usually straightforward.
- Flat biscuits: expired baking powder, butter that warmed up, or a cutter you twisted. Check the leavener first.
- Tough, chewy texture: too much stirring or kneading. Stop as soon as the dough holds together.
- Dry and crumbly: too much flour, either in the dough or on the counter. Measure carefully and dust lightly.
- Pale tops: oven not fully preheated, or the pan crowded. Give the oven a full 15 minutes and leave space around each biscuit.
Making the Recipe Your Own
Once the plain version works, small changes are easy. Fold in ½ cup shredded sharp cheddar and a tablespoon of chopped chives before adding the buttermilk. Swap the sugar for honey and add a pinch of cinnamon for a breakfast biscuit. Or drop spoonfuls of dough straight onto the pan for drop biscuits — less pretty, no rolling, same flavor.
Bake a Second Batch Soon
Biscuit making is muscle memory more than technique. The first batch teaches you what shaggy dough feels like and how fast the color changes in your oven; the second is where it clicks. Keep your butter cold, your hands light, and your oven hot, and you'll have a recipe worth passing along.
Photo: Matilda Iglesias / Pexels