
How to Cut Biscuits for Maximum Rise: Round vs. Square vs. Folded
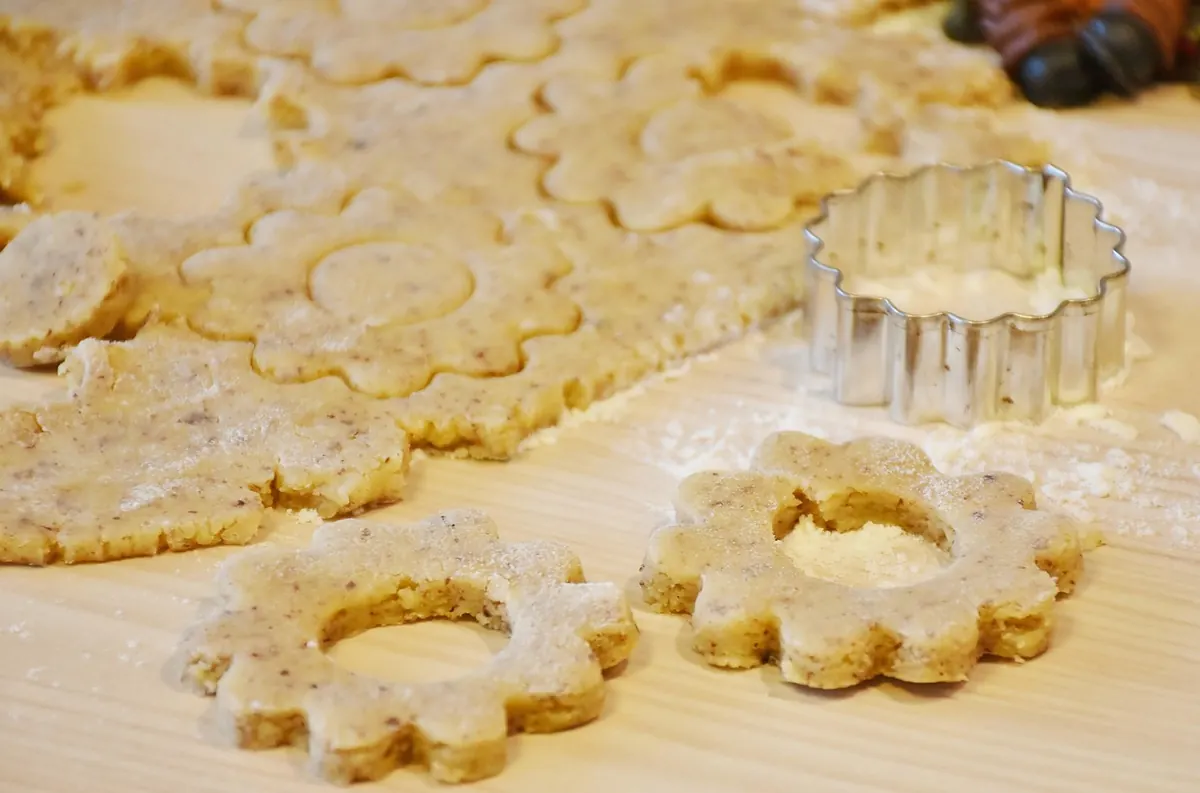
Two trays of the same dough go into the same oven and come out looking like different recipes. One batch stands tall with visible layers along the split. The other spreads into something closer to a scone. The dough wasn't the problem. The cutter was.
Cutting looks like the least interesting step in biscuit baking. It's actually where most of the rise is won or lost, because a biscuit does its climbing along the walls you create with the blade. Get those walls clean and vertical and the dough has somewhere to go. Smear them shut and the steam has nowhere to push.
What Actually Happens When a Biscuit Rises
Biscuit dough is a stack of flattened butter pieces held in a soft flour-and-liquid matrix. In the oven, the butter melts and releases water as steam. That steam wants out, and the path of least resistance is upward, along the boundaries between those butter layers. That's your rise, and those boundaries become your layers.
The outer edge of a cut biscuit is the wall containing all of that pressure. A sharp, straight cut leaves the layers open at the edge so steam can escape in a controlled way while the sides still hold. A ragged or pinched edge glues the layers together, and the dough either climbs sideways or barely climbs at all.
Two rules follow from that, and they matter more than which shape you choose:
- Never twist the cutter. Press straight down, then lift straight up. Twisting seals the edge like a pie crust and is the single most common reason for a flat biscuit.
- Use a cutter with straight, thin walls. A metal cutter does this well. A drinking glass often has a beveled rim that pinches the dough, and fluted cutters crimp the layers shut by design.
Round Cutters: The Classic Shape, and Why It Wins on Rise
Round is the default for a reason. A circle has no corners, so the dough at the edge is under even tension all the way around and expands uniformly. The cut itself is a single continuous line, which means fewer places for the edge to snag or tear.
For the tallest biscuits, aim for a cutter about 2 to 2½ inches across and roll the dough to a full inch, maybe 1¼ inches. Thin dough can't rise into anything dramatic, no matter how well you cut it. Dip the cutter in flour between every single cut so the blade doesn't drag, and don't press so hard that you crush the layers under the rim.
Spacing is the other half of the round-cutter story. Biscuits placed so their sides touch climb higher because they support each other and the steam stays trapped between them. Biscuits set an inch apart brown more and crisp on the sides, but they rise a little less. Pick based on what you want on the plate.
Square Cutters: Less Waste, Slightly Different Rise
Square cutters tile the dough with almost no gaps, which is their whole appeal. You get more biscuits from the same batch, and you rarely have to re-roll anything. Companies that make biscuits by the hundreds cut squares or rectangles for exactly this reason.
The tradeoff is subtle but real. Dough in a corner is more constrained than dough on a curve, so square biscuits sometimes rise a hair unevenly, and the corners stay angular instead of puffing into that domed top. With a sharp cutter, cold dough, and a hot oven, the difference is small enough that most people won't notice. With a dull cutter and warm dough, it shows up fast.
Squares also have a practical advantage at the table. They fit a baking sheet edge to edge, they stack for sandwiches without wasted crust, and if you're feeding a crowd, they save you from the scrap problem entirely.
The slab method
You don't need a square cutter at all. Pat the dough into a neat rectangle, then cut it into squares with a bench knife or a sharp chef's knife, pressing straight down rather than sawing. You lose a little of the edge lift you'd get from a cutter's clean walls, but you'll have biscuits in the oven minutes after the dough comes together, and almost no waste.
Folded Biscuits: Layers You Build on Purpose
Folding is a different approach. Instead of relying on the natural butter layers in the dough, you roll the dough out, fold it over on itself, and roll again. Each fold multiplies the layers, the way puff pastry gets its flake. This is the technique behind the tall, distinctly layered buttermilk biscuits you see in old Southern cookbooks.
The cost is handling. Every roll and fold works the dough a little more and gives the butter a chance to soften, and overworked biscuit dough turns tough and bready instead of tender and flaky. Folded biscuits also use more dough per biscuit, so a batch yields fewer pieces.
The Folding Technique, Step by Step
- Make your dough and turn it onto a lightly floured surface. Pat or roll it into a rectangle about ½ inch thick.
- Fold the rectangle in thirds like a letter: bring the right third to the middle, then fold the left third over the top.
- Turn the dough 90 degrees and roll it back out to a ½-inch rectangle. Dust off any loose flour sitting on the surface before you fold again — trapped flour becomes a dry seam.
- Repeat the fold and roll two or three times total. Three folds is a good balance; more than four starts to toughen the dough without adding much visible flake.
- Roll the dough to its final thickness, about 1 to 1¼ inches.
- Cut with a floured round or square cutter, pressing straight down and lifting without twisting.
- If the butter has softened and the dough feels greasy, slide the cut biscuits onto a tray and chill them for 10 to 15 minutes before baking.
Work quickly, keep your butter cold, and don't fuss. The folds should feel like stacking, not kneading.
Scraps, Re-rolls, and Choosing Your Method
Scraps are where round biscuits get expensive. Press the trimmings together gently, stack them rather than balling them up, and roll one more batch. That first re-roll is usually fine. A second re-roll gives you dense, tough biscuits, because you've compressed the layers you spent all that effort building. If you have only a few scraps left, bake them as they are and eat them in the kitchen.
Here's the short version of how the three methods compare:
- Round: best rise and the cleanest edge, most scraps, most re-rolling.
- Square: almost no waste, even browning, corners slightly constrained.
- Folded: the most dramatic layers, the most handling, the fewest biscuits per batch.
- Bench-knife squares: fastest of all, minimal scraps, a touch less edge lift.
Before the Oven Door Closes
Cut the dough thick, cut it cold, and cut it once. Press straight down, lift straight up, and resist the urge to twist. If you want the tallest biscuits with the least effort, use a sharp round cutter and set them touching on the pan. If you want a full tray with nothing wasted, cut squares. If layers are what you're after, fold the dough three times and handle it as little as you can stand.
The recipe gets the credit, but the cutter does the work. Choose the shape that matches what you want on the plate, then give every biscuit an edge worth rising from.
Photo: RitaE / Pixabay