
5 Common Biscuit Baking Mistakes and How to Avoid Them
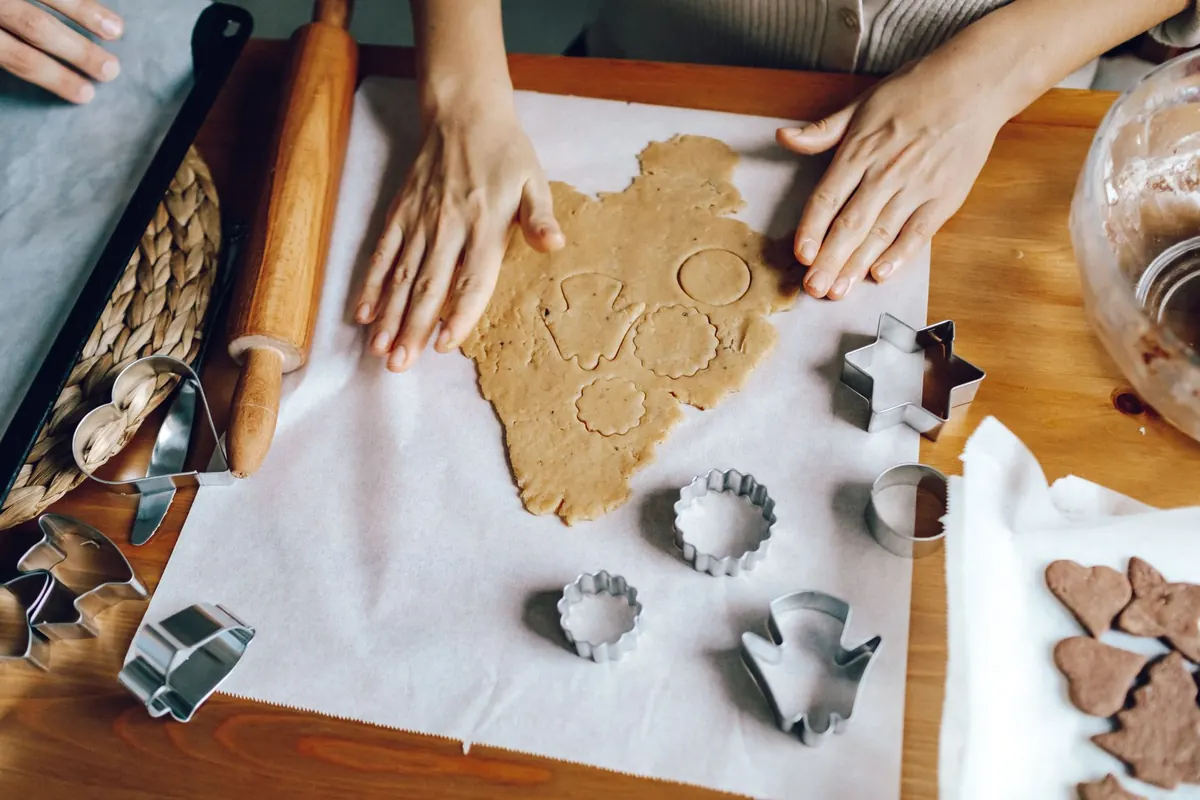
Few kitchen disappointments match a tray of biscuits that look promising on top and eat like dry crackers underneath. The ingredients are humble—flour, fat, liquid, leavening, salt—so the flaws usually come from technique, not from a missing secret ingredient. Overmixing, the wrong flour, dull cutters, warm fat, and a sluggish oven are the usual suspects. Fix those, and your biscuits become tender, layered, and tall enough to split and butter without crumbling.
Mistake 1: Overmixing the Dough
Gluten is necessary for bread, but it is the enemy of a tender biscuit. Every extra stir develops strands that turn the dough elastic. You want a shaggy mass that barely holds together, with dry streaks of flour still visible. If the dough feels smooth and springy, you have already gone too far.
Use a fork, pastry blender, or your fingertips to cut the fat into the flour. Then add the liquid and stir just until no loose flour remains. A few dry patches are fine; they will hydrate as you fold the dough. When you knead—and for most biscuits, a gentle fold or two is enough—stop before the dough looks uniform. A lumpy, slightly rough dough bakes into flaky layers. A polished dough bakes into a chewy puck.
Signs you are overmixing
- The dough springs back when pressed.
- It feels smooth and elastic rather than shaggy.
- You can stretch a piece without it tearing easily.
- The baked biscuits are tough and have few distinct layers.
Mistake 2: Using the Wrong Flour—and Measuring It Wrong
Flour is not neutral. Its protein content determines how much gluten can form. Bread flour is too strong for most biscuits; it builds structure quickly and can make them tough. Cake flour is very low in protein and can leave biscuits fragile or flat. All-purpose flour sits in the middle, and many biscuit bakers prefer a lower-protein Southern-style flour or a blend of all-purpose and cake flour for extra tenderness.
How you measure matters as much as what you measure. Scooping flour straight from the bag compacts it, so you add more than the recipe intended. That extra flour dries out the dough, reduces rise, and produces a dense crumb. Fluff the flour with a spoon, sprinkle it into your measuring cup, and level it off with a straight edge. If you use a scale, you avoid the guesswork entirely.
Whole wheat or whole grain flours absorb more liquid and can weigh down biscuits. If you want their flavor, start by replacing a small portion of the all-purpose flour and add a little more liquid if the dough seems dry. Self-rising flour already contains leavening and salt, so adjust your recipe accordingly rather than adding more baking powder blindly.
Mistake 3: Cutting with Dull Cutters—and Twisting
A biscuit cutter is not just a shape maker. Its edge cuts through the dough and separates the layers so they can rise. A dull cutter, or a drinking glass with a rounded rim, presses the edges together and seals them. The result is a biscuit that climbs in the middle and stays flat at the sides—or barely rises at all.
Use a sharp metal cutter and press straight down. Do not twist. Twisting seals the cut edge just as effectively as a dull blade, and the layers cannot separate. Dip the cutter in flour between cuts, but tap off the excess so you are not adding raw flour to the dough. Cut biscuits close together to minimize scraps; you can push the scraps together gently for one more batch, but each reroll develops more gluten.
The right way to cut
- Flour the cutter lightly and shake off the extra.
- Press down firmly with one clean motion.
- Lift the cutter straight up without turning it.
- Place the biscuit on the pan without stretching or reshaping it.
Mistake 4: Letting the Fat Get Too Warm
Cold fat is what creates flaky layers. When small pieces of butter or shortening hit the hot oven, they melt and release steam. That steam pushes the dough apart into distinct sheets. If the fat is already soft or warm before baking, it blends into the flour like a paste. The dough may look smooth and easy to roll, but it will bake flat and greasy rather than flaky.
Start with very cold butter, shortening, or lard. Cut it into cubes and chill it again if your kitchen is warm. You can grate frozen butter on a box grater and toss the shreds with flour; this keeps the pieces small and cold. Work quickly, and if the dough starts to feel warm, slide it into the refrigerator for ten minutes before cutting.
The liquid should be cold, too. Buttermilk, milk, or whatever you use should come straight from the refrigerator. Add most of it at once, stir lightly, and add the rest only if the dough needs it. A wet dough is not necessarily better; too much liquid can make biscuits spread and lose height.
Mistake 5: Baking in a Lukewarm Oven
Biscuits need a hot oven to rise before their structure sets. If the oven is not fully preheated, the fat melts slowly, the leavening activates gradually, and the biscuits have time to spread. They end up wide, pale, and flat. Preheat the oven for at least fifteen minutes, and use an oven thermometer if your oven runs cool or uneven. Place the rack in the middle unless your recipe says otherwise.
Do not open the oven door during the first part of baking. The blast of cool air can cause biscuits to stop rising. Wait until they are nearly done, then check for browning. Rotate the pan only if your oven bakes unevenly. A light-colored pan or parchment paper helps the bottoms brown gently; a dark pan can scorch them before the centers cook through.
If your biscuits still spread, check the baking powder or baking soda. Old leavening loses strength and may not lift the dough. Also confirm that your dough is cold and your oven is truly hot. Most biscuit problems are not a mystery; they are a temperature problem.
A Simple Routine for Better Biscuits
Biscuits reward a light hand and a little planning. Before you start, chill the fat and the liquid, preheat the oven, and gather a sharp cutter. Measure flour by fluffing and leveling, or use a scale. Stir until shaggy, turn the dough out, fold it just a few times, and cut straight down. Bake them hot, and leave them alone until the edges are golden and the tops have risen.
If your first batch is not perfect, change one thing next time. Maybe you overmixed, or the cutter twisted, or the butter sat on the counter too long. Keep a few notes on the recipe—what you did, how the dough felt, how the biscuits rose. That record is more useful than any gadget. Good biscuits come from repetition, and the mistakes above are the fastest things to correct.
Photo: ROMAN ODINTSOV / Pexels